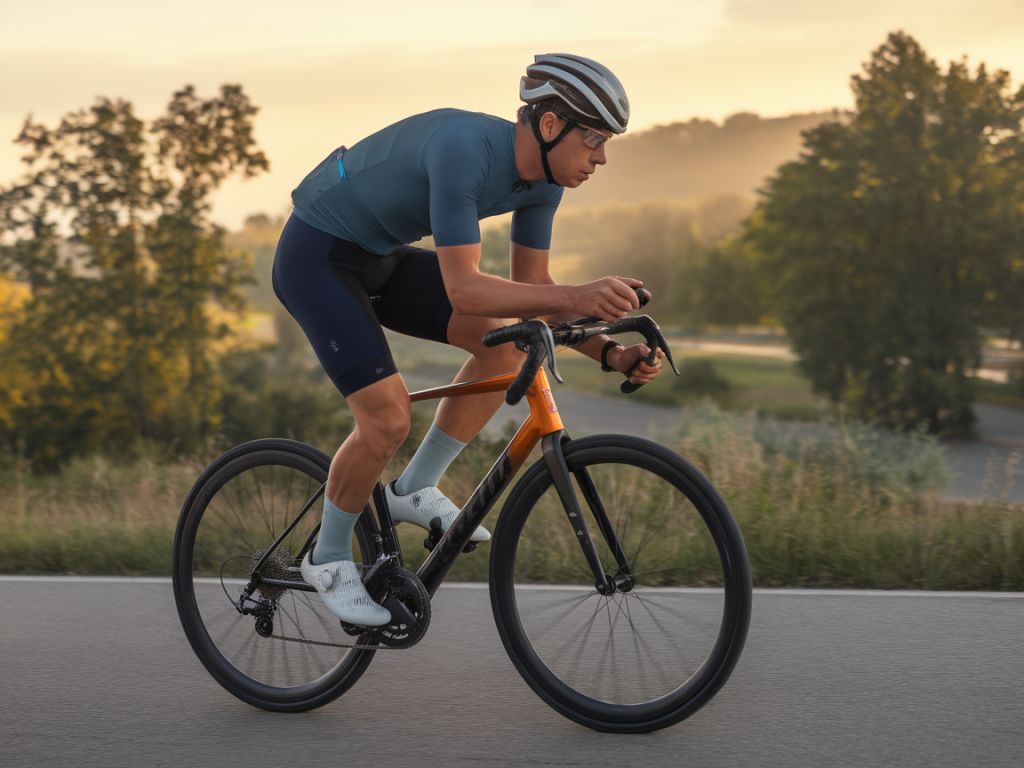
Forefoot numbness while cycling is one of those nagging problems that can turn a joyful ride into an anxious shuffle of foot adjustments. I’ve dealt with it myself and helped readers and clients troubleshoot it. The good news is that, in many cases, small bike fit tweaks and simple insoles make a measurable difference. Below I share practical steps you can try today, how to test changes, and when to seek professional help.
What's actually happening when your forefoot goes numb?
Numbness on the ball of the foot usually comes down to pressure and compression. Two common culprits are:
Mechanical pressure from the shoe/cleat interface compressing the nerves under the metatarsal heads (Morton's neuroma–like symptoms).Excessive fore-aft or medial-lateral pressure from poor cleat positioning or overly stiff/poorly shaped shoes causing localized ischemia (reduced blood flow).In cyclists, we also see irritation of the dorsal nerves where straps or tight laces compress the top of the foot. The pattern of numbness can help pinpoint the problem: diffuse numbness across the forefoot suggests pressure-related ischemia, while numbness between specific toes may indicate nerve entrapment.
Quick self-checks you can do on the bike
Before buying anything, try these quick tests to locate the source:
Ride with your toes spread. If spreading relieves the numbness, the issue is likely compression at the forefoot requiring a wider shoe or footbed.Shift your cleat slightly back (3–5 mm) and ride for 10–15 minutes. If numbness improves, your cleats may be too far forward, placing extra pressure on the forefoot.Try unfastening the top strap or loosening laces halfway through your ride. If that eases symptoms, dorsal pressure is part of the problem.Bike fit tweaks that often fix numbness
Small adjustments to cleat position and saddle/leg setup can reduce forefoot loading significantly:
Move cleats back: Shifting cleats posteriorly redistributes force toward the midfoot and reduces pressure at the metatarsal heads. Start with 3–5 mm and test. On look-style or 3-bolt road shoes, use a ruler and mark your original position so you can return if needed.Adjust stack height/foot-pedal interface: If your foot sits unusually high relative to the pedal (thick insoles + pedal spacers), it can change pressure points. Consider removing excessive insoles or pedal spacers.Re-examine fore-aft saddle position and seat height: A forward saddle or excessive reach can overload the forefoot as you push further forward in the pedal stroke. A small setback or slight drop in seat height (5–10 mm) may help.Handlebar reach and drop: If your torso position forces you to pull weight onto your hands, you may extend your legs more and press through your forefoot. A small change in reach or a different stem angle can distribute load more evenly.Shoe and insole changes that provide immediate relief
Once bike fit is reasonably dialed in, footwear and insoles are where a lot of improvement happens. I've tried and recommended several practical options:
Choose a roomier shoe: If your toe box is narrow, switching to a brand with a wider forefoot—like Lake, Shimano’s wider models, or some Sidi models with adjustable volume—can create immediate relief.Use a metatarsal pad or orthotic: A simple metatarsal pad placed just behind the ball of the foot helps spread and offload pressure from the metatarsal heads. I like thin, removable pads (3–5 mm) that you can experiment with inside your cycling shoe.Prefer flatter, firmer footbeds over overly soft contoured ones: Ultra-cushioned insoles can create pressure hot spots because they compress unevenly. A firmer, supportive insole that distributes load—such as Superfeet or Giro’s performance footbeds—often helps more than plush comfort insoles.Consider rocker or cut-outs in the insole: Some off-the-shelf cycling insoles have a slight metatarsal cut-out or rocker that reduces direct compression under the forefoot. Look for “metatarsal relief” in product descriptions.How to layer and test insoles
Follow this simple protocol when trying new insoles so you can measure improvements:
Start with a baseline ride of 20–30 minutes and note when/where numbness appears (time into ride, left vs right, dorsal vs plantar).Install the new insole or met pad on one shoe only and repeat the ride. If symptoms improve on the treated side, you’ve found something that helps.Make incremental changes—alter the pad placement by a few millimetres and retest. Small shifts often make a big difference.Keep a short log: cleat position, insole type, strap tightness, and symptom onset. Over a few rides you’ll identify the best combination.Socks, lacing, and straps: small things that matter
Don’t underestimate these simple contributors:
Socks: Use thin, seamless cycling socks to reduce bulk and friction. Wool blends or synthetic technical fabrics help with moisture control but avoid thick cushioned socks during hot rides.Lacing/straps: If your shoe uses BOA dials, loosen the midfoot slightly while keeping forefoot secure; if using velcro, try a “staggered” tightening—tight at the arch, looser near the toes. Pressure from a single tight strap across the top can impede nerves and circulation.Cleat bolts: Ensure cleat bolts are snug but not overtightened in a way that creeps the cleat forward over time.Exercises and mobility to reduce sensitivity
While mechanical fixes are primary, a few daily habits help nerves and tissues tolerate load better:
Metatarsal mobilisations: Sit with your foot over your knee and gently massage behind the ball of the foot for 1–2 minutes.Toe spreading drills: Using your fingers or a small toe separator, practice spreading toes for 20–30 seconds several times a day to counteract tightness from shoes.Plantar tissue rolling: Roll a firm ball (lacrosse ball) under the arch and forefoot to improve circulation and reduce tension.When to see a specialist
If you try cleat shifts, insoles, shoe changes, and your numbness persists or worsens, consult a podiatrist or sports medicine clinician. Red flags include:
Sharp, shooting pain into the toes or progressive weakness.Numbness that doesn't improve after a week of rest or simple adjustments.Visible foot deformity, persistent swelling, or signs of infection.A podiatrist can assess for Morton’s neuroma, tarsal tunnel issues, or nerve entrapment and may offer custom orthotics or corticosteroid injections where appropriate.
Products I commonly recommend
| Type | Example | Why it helps |
|---|
| Metatarsal pad | UPZ or Formthotics met pad | Offloads metatarsal heads, inexpensive and adjustable |
| Performance insole | Superfeet Carbon / Giro Footbeds | Firmer support, better load distribution |
| Roomier shoes | Lake, Shimano wide models | More forefoot volume reduces compression |
Troubleshooting forefoot numbness is often a process of small experiments: tweak one variable at a time, record what changes, and give each tweak a proper road or trainer test. With a few targeted bike fit adjustments and the right insole support, many riders find their symptoms greatly reduced—and regain the simple pleasure of riding without that buzzing numbness underfoot.