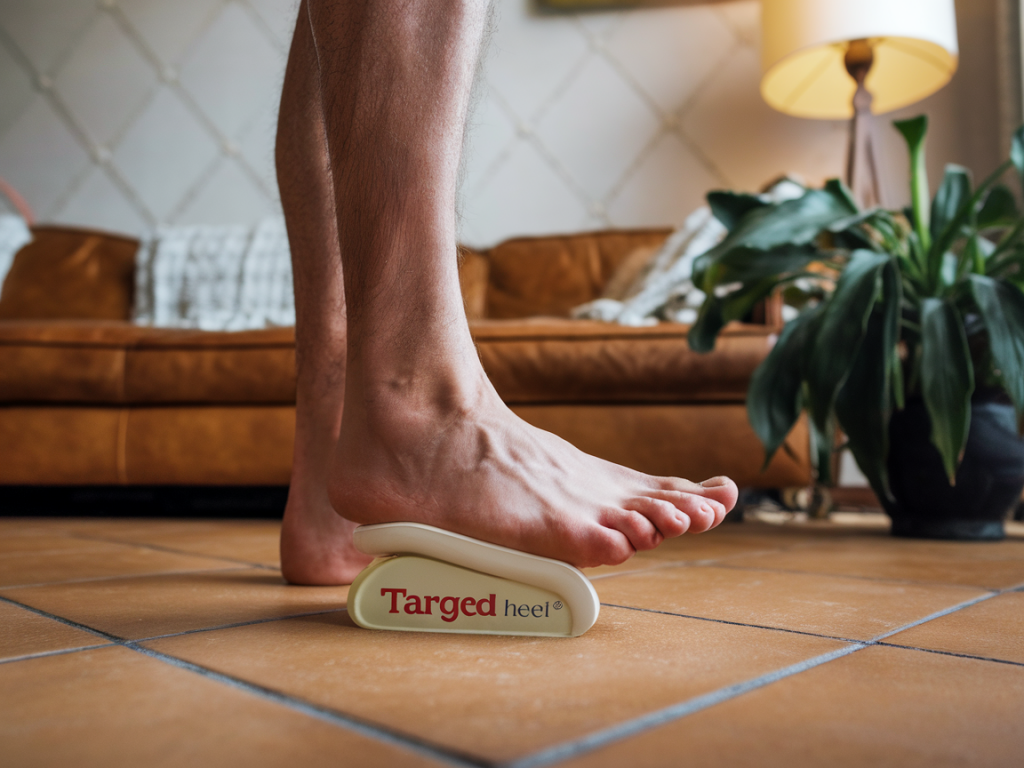
I’ve worked with many people who describe the same frustrating cycle: a respectable recovery after rest or rehab, then a stubborn recurrence of Achilles pain as soon as life gets busy again. One simple, evidence-informed tool I often test with clients is a targeted heel lift. It’s not a cure-all, but used thoughtfully it can reduce strain on the Achilles while you rebuild capacity. Below I’ll walk you through a practical, four-week at-home trial that lets you see if a heel lift helps your symptoms, how to implement it safely, and what to watch for.
Why a heel lift might help
The Achilles tendon transmits the powerful pull of your calf muscles to your heel. When that tendon is irritated or recovering from overload, reducing how far the calf has to stretch at each step can lower mechanical strain. A heel lift does this by slightly raising the heel relative to the forefoot, shortening the effective length of the calf–Achilles unit and decreasing peak tensile load during walking and running.
Research and clinical experience suggest heel lifts can provide symptom relief for mid- to long-term Achilles issues, especially when combined with a strengthening program and load management. However, lifts are generally best used as a temporary, supportive strategy—not an endless crutch. The goal is to reduce pain enough to allow progressive loading and return to normal mechanics.
Who should try this 4-week test
This test is appropriate if you have:
Don’t try this if you have been advised by a clinician to immobilize, have a recent complete tendon rupture, or have serious vascular or neurologic foot conditions. If you’re unsure, check with a health professional first.
What you’ll need
Baseline check (before week 1)
Spend a few days without a lift and note:
Take photos or short videos of your shoes and gait if possible — they can be useful later to notice any mechanical changes.
Four-week trial protocol
Use the table below to guide week-by-week expectations. The lift height I usually trial is 4–8 mm for mid-portion Achilles issues; insertional Achilles problems may respond better to slightly less (3–5 mm) because too much lift can increase compression at the tendon insertion. Start on the lower end if you’re unsure.
| Week | What to do | Goals |
|---|---|---|
| Week 1 | Insert a 4 mm lift in your shoe for daily walking. Use only in your regular shoes. Track pain before/during/after activity. Keep normal activity but reduce high-intensity sessions if pain spikes. | See immediate pain response and comfort with the lift; avoid overreliance. |
| Week 2 | If pain decreased, continue. Add gentle eccentric-concentric calf strengthening (see exercises below) 3× per week. If symptoms unchanged or worse, try 2 mm increase or swap to a different lift material. | Begin progressive loading while monitoring symptom trend. |
| Week 3 | Increase walking duration or a low-intensity run by 10–20% if pain stays below baseline. Continue strength work and add mobility: ankle dorsiflexion stretches and plantarflexion control drills. | Build tolerance without pain worsening beyond a mild, acceptable level (see “acceptable pain” below). |
| Week 4 | Start phasing out lift use for short periods—remove for easy walking at home or during warm-ups. Continue strengthening and progressively reintroduce normal shoe heel drop. Reassess baseline measures at the end of week. | Determine whether the lift is a temporary aid or seems necessary long-term. |
Sample exercises to combine with lifts
These are gentle, evidence-backed calf/achilles exercises. Do them on a flat surface unless otherwise noted.
Start with a pain-guided approach — some soreness with eccentric work is normal, but avoid sharp increases in baseline pain.
How to interpret results
Throughout the trial, use these rules of thumb:
“Acceptable pain” during exercise is generally mild and settles within 24 hours. If pain is prolonged or progressively worse, that’s a red flag.
Practical tips and common questions
When to get professional help
If the trial doesn’t give clear benefit, pain worsens, or you have persistent weakness or swelling, seek assessment from a physiotherapist or podiatrist experienced with Achilles conditions. They can offer tailored orthotic solutions, a progressive loading plan, and address footwear or gait mechanics more specifically.
I encourage you to approach this test with curiosity and careful tracking — a small change like a lightweight heel lift can sometimes be the missing piece that lets you build back strength without repeated flare-ups. If you try the four-week trial, jot down your experiences and I’m happy to help interpret your results or suggest next steps.