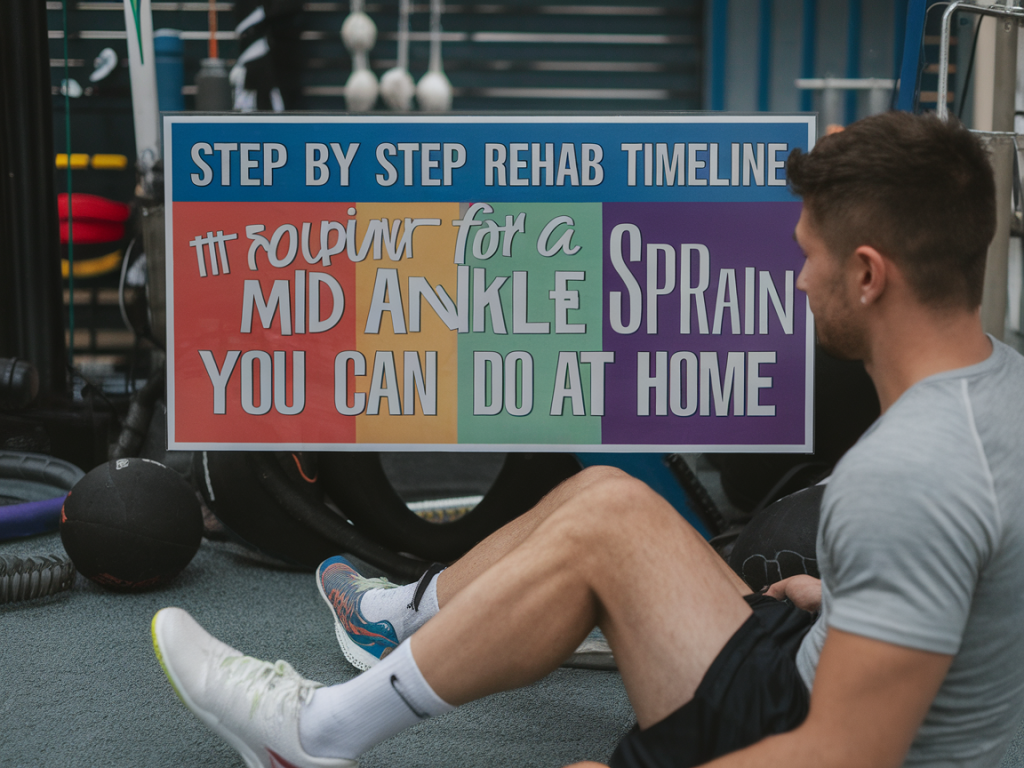
When I sprained my ankle a few years ago (mild, lateral sprain), I wanted a clear, realistic timeline I could follow at home — nothing fancy, just sensible steps that respected healing while keeping me moving. Over time I combined what I learned from physiotherapy, rehab research and personal experience into a simple, progressive plan that works for most mild ankle sprains. Below I share a pragmatic step-by-step timeline you can try at home. Always listen to your body, and see a clinician if things aren’t improving or if pain is severe.
What I mean by “mild” ankle sprain
I use “mild” to describe an inversion sprain with minimal swelling, bruising, and only light to moderate pain when bearing weight. You can walk with some discomfort but not collapse underload. If you had a popping sound, significant instability, or can’t put weight on the foot at all, get assessed — those signs may indicate a more severe sprain or ligament rupture.
Immediate phase (0–72 hours): protect and control inflammation
My goal here was to reduce swelling and pain so I could start gentle movement quickly. For the first 48–72 hours I followed pragmatic measures rather than strict immobilisation.
Protection: I avoided activities that increased sharp pain. Short-term use of crutches or a walking boot can help if walking is painful, but try to minimise reliance to keep muscles active.Compression & elevation: I wrapped my ankle with a compression bandage (e.g., an elastic ankle support) and elevated it when resting to reduce swelling.Ice: I used 10–15 minute ice sessions every 2–3 hours for the first 48 hours to help with pain and inflammation. Ice is a tool for comfort — it doesn’t “stop healing.”Pain management: Over-the-counter analgesics (paracetamol or NSAIDs) can be used if appropriate for you. I check with my GP if unsure.Early gentle movement: As soon as weight-bearing is tolerable, I do ankle circles, alphabet tracing with the toes, and gentle dorsiflexion/plantarflexion to prevent stiffness.Early rehab (days 3–7): restore range of motion and begin light loading
Once swelling is settling and I can put weight on the foot with manageable pain, I progress to range-of-motion drills and gentle loading. The aim is mobility first — strong movement control will protect healing ligaments.
Range-of-motion (ROM) exercises: Ankle pumps, ankle circles, and writing the alphabet with your toes. Do 2–3 sets of 10–20 repetitions, several times per day.Weight-bearing: Gradually increase walking as pain allows. I avoid uneven surfaces at this stage but walk on flat ground with good shoes (a supportive sneaker like ASICS or New Balance is fine).Isometric loading: Gentle isometric contractions against a towel or wall (pushing foot into a fixed object without joint movement) help stimulate healing without excessive strain.Manual care: If you have access to soft-tissue massage or gentle lymphatic drainage, that can reduce swelling. I often use self-massage with a light oil around the calf and peroneal muscles.Progressive strengthening (weeks 1–4): build strength and control
By the end of the first week many mild sprains are ready for progressive strengthening. Focus on peroneal muscles (lateral stabilisers), calf strength and hip/ankle coordination. Start light and increase intensity gradually.
Theraband exercises: Ankle eversion and inversion with resistance band: 2–3 sets of 10–15 reps.Calf raises: Double-leg calf raises progressing to single-leg as tolerated: 2–4 sets of 10–15 reps.Toe and foot intrinsic strengthening: Short-foot exercises (lifting the arch without curling toes) and towel scrunches help the foot support the ankle.Seated-to-standing progressions: Sit-to-stand repetitions to rebuild confidence in weight transfer (slow and controlled).Soft surface balance: Begin single-leg stands on a stable surface for 20–60 seconds, progress to a pillow or foam pad as balance improves.Balance, proprioception & dynamic control (weeks 2–6)
Healing ligaments often need retraining for proprioception — your joint sense — to reduce re-injury risk. I usually add balance work around day 10–14, depending on symptoms.
Single-leg balance: Eyes open, then eyes closed when comfortable. Aim for 30–60 seconds per side, 2–4 reps.Progressive instability: Use a wobble board, foam pad or BOSU ball to challenge control. Keep arms relaxed and maintain a smooth centre-of-gravity over the foot.Dynamic tasks: Gentle lateral step-downs from a low step, slow lateral bounds or single-leg hops once pain-free and strength is adequate. Start with low amplitude and slow speed, then increase.Functional patterns: Incorporate squats, lunges and controlled multidirectional stepping to simulate daily movement demands.Return-to-activity phase (weeks 4–8+): sport-specific or daily-life loading
The timeline varies. For a mild sprain, many people return to normal walking and low-impact activity (cycling, swimming) by weeks 2–4, and to more dynamic activities by week 4–8 depending on confidence and symptoms.
Gradual exposure: Reintroduce jogging on even surfaces, then agility drills and directional changes. Progress based on pain, swelling and confidence.Load management: Use a graded return — shorter, easier sessions at first then build duration and intensity by ~10–20% per week.Supportive footwear and bracing: Consider an ankle brace (e.g., Bauerfeind or ASO lace-up) during return to sport for added confidence. A stable shoe with good heel counter helps during early return.Maintenance: Keep balance and peroneal exercises in your routine 2–3x/week to reduce recurrence risk.Common questions I hear
How long until I’m back to normal? For a mild sprain most people feel largely recovered in 4–6 weeks, but full return to high-demand sport may take 6–12 weeks. Individual factors (age, prior sprains, fitness) affect timing.Is rest or movement better? Short-term protection and rest early on, but start gentle movement within 48–72 hours if possible. Movement promotes circulation and prevents stiffness.When should I see a clinician? Seek assessment if you can’t bear weight, have severe swelling or bruising, feel instability, or if symptoms don’t steadily improve over 2–3 weeks.Should I use a walking boot? A boot may help if walking is painful or unstable. I personally used a short-term support for a few days, then transitioned to a supportive trainer plus an ankle brace for activity.Practical tips I use and recommend
Log improvements: Track pain (0–10), swelling and functional tasks (can you hop? can you walk on uneven ground?) to monitor progress.Make progress measurable: Time how long you can single-leg balance each day — seeing small gains motivates consistent rehab.Don’t skip hip/core work: Weakness above the ankle can change movement patterns and increase re-injury risk. Include glute bridges, clamshells and single-leg deadlifts when ready.Be patient with swelling: Some swelling can persist for weeks — gradual reduction is a good sign. Continue gentle compression and elevation when needed.Red flags and when to get help
Contact a health professional if you experience any of the following:
Inability to bear weight or walk after tryingSevere, increasing pain or numbnessMarked instability or a feeling the ankle is giving wayWorsening swelling or skin changes that suggest infection | Phase | Typical timeline | Main focus |
| Immediate | 0–72 hours | Control swelling, pain relief, early ROM |
| Early rehab | Days 3–7 | Restore ROM, begin gentle loading |
| Strengthening | Weeks 1–4 | Peroneals, calf, foot intrinsics |
| Balance & control | Weeks 2–6 | Proprioception, single-leg stability |
| Return to activity | Weeks 4–8+ | Sport-specific loading, maintenance |
I hope this timeline gives you a clear, manageable path to recovery. I write these steps with an emphasis on gradual progress — small, consistent efforts add up. If you want, I can share a printable checklist or a short video demoing the key exercises I mention.