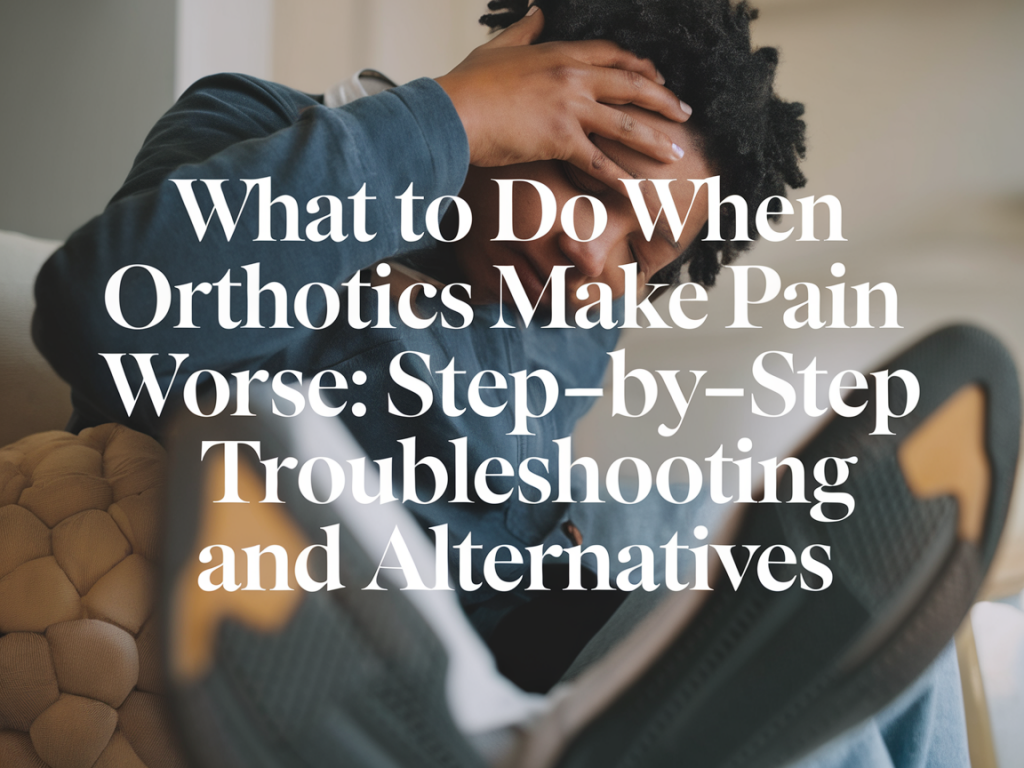
It’s confusing and frustrating when a device meant to help — an orthotic — seems to make your pain worse. I’ve worked with many people (and experimented myself) to figure out why that happens and what to try next. Below I share a pragmatic, step-by-step approach I use with clients and readers: how to troubleshoot orthotic-related pain, quick fixes to try at home, and sensible alternatives when orthotics aren’t the right fit for you.
Why orthotics can increase pain
Understanding the “why” helps you move calmly through solutions. Common reasons orthotics cause more pain include:
Too much change too soon — a dramatic shift in foot posture or loading can irritate muscles, tendons or joints.Poor fit — incorrect size, thickness, or shape can create pressure points or crowding in the shoe.Wrong prescription or design — an orthotic that tries to correct the wrong problem (e.g., over-supporting a foot that needs mobility) can worsen symptoms.Incompatibility with footwear — some footwear doesn’t have the space or structure to accept an orthotic comfortably.Underlying issues — conditions like nerve entrapment, stress fractures, or inflammatory arthritis may be aggravated, and the orthotic is just a trigger, not the root cause.Immediate things to try (first 24–48 hours)
If you put an orthotic in and your pain flares, try these quick steps before panicking.
Stop using it for activities that hurt — give your body a short break so inflammation settles.Reinsert without trim or raise — remove the orthotic, then put it back in only if it fits flat. Sometimes edges rub or sit too high.Switch shoes — try a different pair with more room or a stiffer sole (walker-style shoes, supportive trainers). Some orthotics need a firm shoe to work.Shorten wear-time — wear for 1–2 hours at a time, gradually increasing by 30–60 minutes daily.Ice and rest — if an area is inflamed, short icing sessions (10–15 minutes) and reduced load help.Step-by-step troubleshooting
Work through these steps over 1–3 weeks while tracking symptoms. I recommend a small notebook or phone note to record shoe, orthotic and pain changes.
1. Check shoe compatibility — take the orthotic out and look at how it sits in the shoe. Is it bunching? Are there pressure points against the upper? Try a roomier shoe or one with a removable insole.2. Assess fit and trim — many prefabricated orthoses benefit from a small trim at the heel or toe. If the orthotic is riding up into your toes or pushing the heel forward, have it trimmed or try a shallower version.3. Ease the correction — if a rigid, corrective shell is aggressive, swap to a softer, cushioned insole for a few weeks while you strengthen and mobilize.4. Check alignment changes elsewhere — sometimes foot changes alter knee, hip or back mechanics and you’ll feel pain away from the foot. If the pain is in the knee or hip, reduce wear-time and consult your prescriber.5. Evaluate for pressure areas — red or tender spots may need padding. Use moleskin, foam pads, or a local podiatrist can add soft padding.6. Simple home modifications — adding a thin topcover (orthotic foam or a gel top layer), or placing the orthotic on top of a sock liner can reduce hotspots.When to see the prescriber or a clinician
Contact the person who issued the orthotics (podiatrist, orthotist, physiotherapist) if:
Problems persist beyond 2 weeks despite gradual wear and simple adjustments.You develop numbness, significant swelling, or sharp increasing pain.You suspect the prescription doesn’t match your problem — for example, pain worsens in the arch with an orthotic designed for rearfoot control.A clinician can check the prescription, assess gait, and either modify the orthotic, provide a softer/different design, or recommend diagnostic tests if needed.
Practical in-clinic or cobbled modifications
Here are adjustments professionals commonly make that you can ask about:
Rearfoot posting — adding or removing small heel wedges to fine-tune alignment.Metatarsal pads — offload pressure under the ball of the foot for metatarsalgia.Top covers and cushioning — a memory foam or PORON top layer to reduce peak pressures.Rocker sole integration — when the orthotic combined with a stiff or curved sole helps offload the forefoot.Alternatives when orthotics aren’t tolerated
Orthotics are a tool, not the only solution. If you can’t tolerate them after reasonable trials, consider these evidence-backed alternatives.
Over-the-counter insoles — brands like Superfeet, Powerstep or Dr. Scholl’s offer supportive but less aggressive options. They can be a useful intermediate step.Supportive shoes — a stable, cushioned shoe (e.g., Hoka Clifton, Brooks Addiction, New Balance 990) sometimes reduces symptoms without an orthotic.Rocker-soled footwear — shoes with a built-in rocker can offload forefoot and Achilles load (beneficial for hallux limitus or severe forefoot pain).Taping and strapping — low-dye taping or kinesiology tape can control pronation temporarily during flare-ups.Targeted exercise programs — strengthening intrinsic foot muscles, calf eccentric loading, and plantar fascia-specific stretches often reduce reliance on passive devices.Footwear adaptations — wider toe-box shoes, soft upper materials, or toe spacers (for bunions) can be surprisingly effective.Night splints or orthoses — helpful for plantar fasciitis when daytime orthotics aren’t tolerated.A simple comparison to help decide
| Option | When to try | Pros | Cons |
| Custom orthotic (modified) | Persistent structural issue, previous benefit | Tailored correction | Costly, needs fine-tuning |
| Prefabricated supportive insole | Mild–moderate symptoms, trial stage | Cheap, easy to fit | Less targeted support |
| Supportive footwear | When shoes are root cause or orthotics not tolerated | No insertion required, immediate comfort | May not correct alignment |
| Exercise & mobilization | Recurrent flare-ups, prevention | Addresses root causes, long-term benefit | Requires time and consistency |
How I recommend progressing
Be methodical. I usually ask people to try a graded approach: start with shoe checks and cushioned insoles, add brief orthotic wear if needed, combine with an exercise program (calf strength, toe raises, foot doming) and only move to custom devices if symptoms persist. If a custom orthotic is prescribed, expect an adjustment period — but also expect a follow-up visit to tweak it.
Lastly, trust your experience. Pain is a cue. If something repeatedly increases pain despite careful troubleshooting, it’s okay to stop and explore other strategies. Your feet are resilient, and with the right combination of support, movement and sensible footwear choices, most people find better comfort without endless trial-and-error.