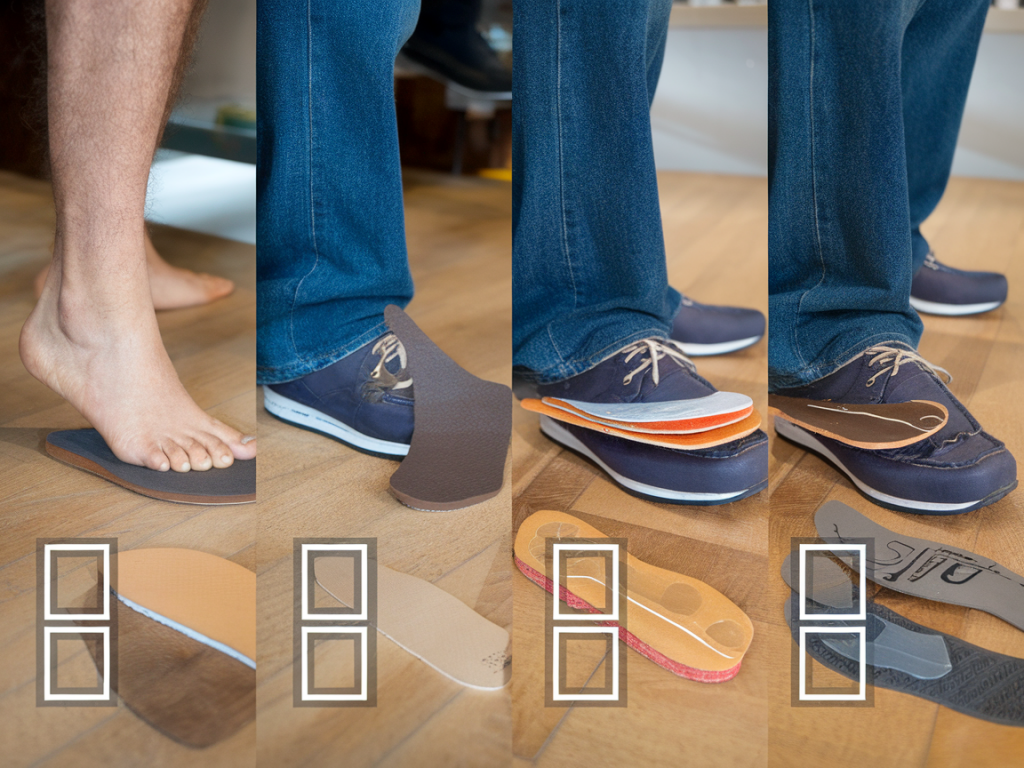
I often get asked how to add an extra insole or an orthotic without turning a perfectly comfortable shoe into an overly tight, pinching disaster. Layering inserts is a great way to fine-tune support, cushioning, or heel lift—but if you don’t do it carefully, it can change the way your shoe fits and how your foot moves. Below is a practical, step-by-step checklist I use and teach that helps you layer insoles or orthotics while keeping fit, comfort, and function in balance.
Why layering can be useful (and why fit matters)
Layering insoles can solve a lot of small problems: add arch support, lift a heel, replace worn cushioning, or tailor a shoe temporarily for a specific activity. But shoes aren’t infinitely adjustable—small changes in stack height or foot position can alter pressure points, toe space, and ankle alignment. When fit changes, biomechanics change, and that’s when new discomfort or blisters can appear.
My goal with this checklist is to help you add support safely: preserve the original toe box length and width, avoid excessive heel slippage, and keep your foot centered over the shoe sole. Follow each step slowly and test as you go.
What to gather before you start
- Original shoe insoles (don’t throw them away—often you’ll swap between them).
- The orthotic or extra insole you plan to add (custom orthotic, prefabricated arch insert, gel pad, etc.).
- A thin full-length sock to test fit without additional bulk.
- A marker, scissors or a sharp utility knife for trimming, and some double-sided tape or stick-on adhesive if needed.
- A shoehorn and a soft brush for cleaning the inside of the shoe if necessary.
Step-by-step fit checklist
- Try the shoe as-is first. Put the shoe on with the original insole, socks you normally wear, and walk for a few minutes. Note toe room, midfoot snugness, and heel hold. This gives you the baseline to compare to.
- Measure internal length. Remove the insole and place it on a flat surface. Trace its outline if needed and measure length from heel edge to the tip. This helps you predict how much stacking you can add before encroaching on toe space.
- Estimate extra stack allowed. As a practical rule, adding 3–5 mm of thickness under the foot often feels negligible. Above ~5–8 mm, you’ll likely notice reduced toe room or a tighter fit. Use the insole measurement and your shoe’s toe-box depth to estimate how much thickness you can add without pinching toes. If you’re unsure, start thinner.
- Decide whether to remove the original insole. Many layered setups work best with the original sockliner removed—this prevents double-cushioning that reduces internal volume. However, thin insoles (1–3 mm) can be stacked on top of the stock liner if the shoe is roomy. Always test both options.
- Trim to fit—if necessary. If your extra insole is full-length but too long, trim carefully following the shape of the original insole. Cut small amounts at a time—you can always trim more, but you can’t add back material.
- Place and center the insert. Slide the trimmed or full insert into the shoe, aligning the heel cup and medial arch. A misaligned insert shifts foot position and changes pressure distribution more than a small change in thickness does.
- Secure the insert if it moves. If the insert slides during walking, use a small piece of double-sided tape or a thin strip of adhesive in the heel cup to keep it stable. Movement underneath the foot can create friction and blisters.
- Wear a thin pair of socks and test the fit. Walk around for 5–10 minutes on flat ground and a few stairs. Pay attention to:
- Toe contact with the toe box (numbness, pressure, or rubbing).
- Heel slippage—too much lift may cause slipping; too much pressure may cause bruising sensation.
- Overall balance and whether your weight feels centered or shifted forward/back.
- Adjust progressively. If something feels off, remove the extra insert and either trim more, change stacking order (e.g., thin cushion on top versus bottom), or swap for a thinner insert. Re-test after each small change.
- Check the shoe’s closure system. Sometimes tightening laces or switching from slip-on to a snugger tie can compensate for small added volume without creating pressure points. A proper lacing strategy can stabilize the foot without over-constraining the toe box.
- Monitor during the first week. New stacking often needs a short break-in period. Wear the modified setup for short periods initially—30–60 minutes—and increase gradually over several days. Note any hot spots, tingling, or unusual fatigue and stop if pain occurs.
Common layering setups and quick tips
- Thin orthotic over stock liner (1–3 mm): Good for minor arch support. Often doesn’t require removing the stock liner if shoe is roomier.
- Full-length insole replacing stock liner: Provides a clean fit and predictable foot position. Trim to match original liner if needed.
- Heel lift plus orthotic: Place lift under the orthotic if you want to preserve arch shape; place lift on top if you want to change heel contact more directly. Test both.
- Forefoot cushioning pad (met padding): Use adhesive pads and avoid placing them too far back—this can push the foot forward unexpectedly.
Quick reference table: thickness vs likely effect
| Added thickness | Typical effect |
|---|---|
| 1–3 mm | Subtle cushioning/support, often unnoticeable in fit |
| 3–6 mm | Mild change in toe space; may need minor lace adjustment |
| 6–10 mm | Noticeable reduced toe room and potential heel pressure; test carefully |
| >10 mm | Major fit change—often requires removing original liner or choosing larger shoe size |
Red flags and when to stop
- If you experience sharp pain, numbness, or pins-and-needles—stop immediately and reassess.
- Persistent hot spots or blisters after short wear indicate shifting or excess pressure—remove the extra layer and check alignment.
- Significant heel slippage or instability—this can alter gait and increase fall risk; don’t continue until corrected.
- If adjustments don’t solve problems, consider a different insert or a wider/longer shoe. Sometimes the solution is to change footwear rather than force an insert into an incompatible shoe.
I often test a few combinations in the same shoe over weeks: thin prefabricated orthotics like Superfeet Green or Powerstep, gel met pads, and custom orthotics. The trick isn’t to pick one perfect setup immediately, but to tweak small variables—thickness, placement, removal of the stock liner, and lacing—until your foot feels supported and the shoe still fits like it should. If ever in doubt, consult a podiatrist or orthotist for custom advice—especially if you have persistent pain or structural concerns.
Layering can be a subtle art, but with a careful, stepwise approach you can improve comfort and function without sacrificing fit. Keep a record of combinations that work (shoe model + insert + position + lacing) so you can repeat the setup next time—your future feet will thank you.