I often hear from readers that heel pain can feel like a stubborn shadow — it shows up first thing in the morning or after long periods of standing, and nothing seems to soothe it for very long. In my experience, tight calves are a common and very treatable contributor to heel pain, especially plantar heel pain and early-stage Achilles irritation. Below I share a practical calf foam rolling and stretching sequence that I use myself and recommend to clients. It’s designed to be simple, evidence-informed, and easy to fit into your day so you can ease heel pain fast and reduce the chance it returns.
Why focus on the calf?
Your calves (the gastrocnemius and soleus) connect directly to the Achilles tendon and influence how force is transmitted through your heel and plantar fascia. When the calf muscles are tight or restricted, the tendon and the heel can be overloaded during walking and running. Releasing tension and improving calf mobility can reduce strain on the heel and support healing. This doesn’t replace medical diagnosis or treatment when needed, but it is a highly practical first-line strategy I use with most people who have mild to moderate heel pain.
What you’ll need
- Foam roller (a 6" softer roller or a medium-density full-length roller works well; I like the RumbleRoller Mini for targeted work).
- Massage ball or lacrosse ball for pinpoint work (optional but helpful).
- Resistance band or towel for active calf stretching.
- Comfortable mat or soft floor.
How often and when
A short session once per day can make a real difference; for flare-ups, do the sequence twice daily (morning and evening). Spend 8–15 minutes total. The routine is gentle enough to use after walking, after exercise, or as part of your morning routine to reduce stiffness.
Sequence: foam rolling and stretches (step-by-step)
Move through these steps slowly and breathe deeply. If something hurts sharply, ease off — we want a productive release, not pain that aggravates the issue.
- Warm-up (1–2 minutes): March on the spot or do easy ankle circles for 60–90 seconds to get blood flowing.
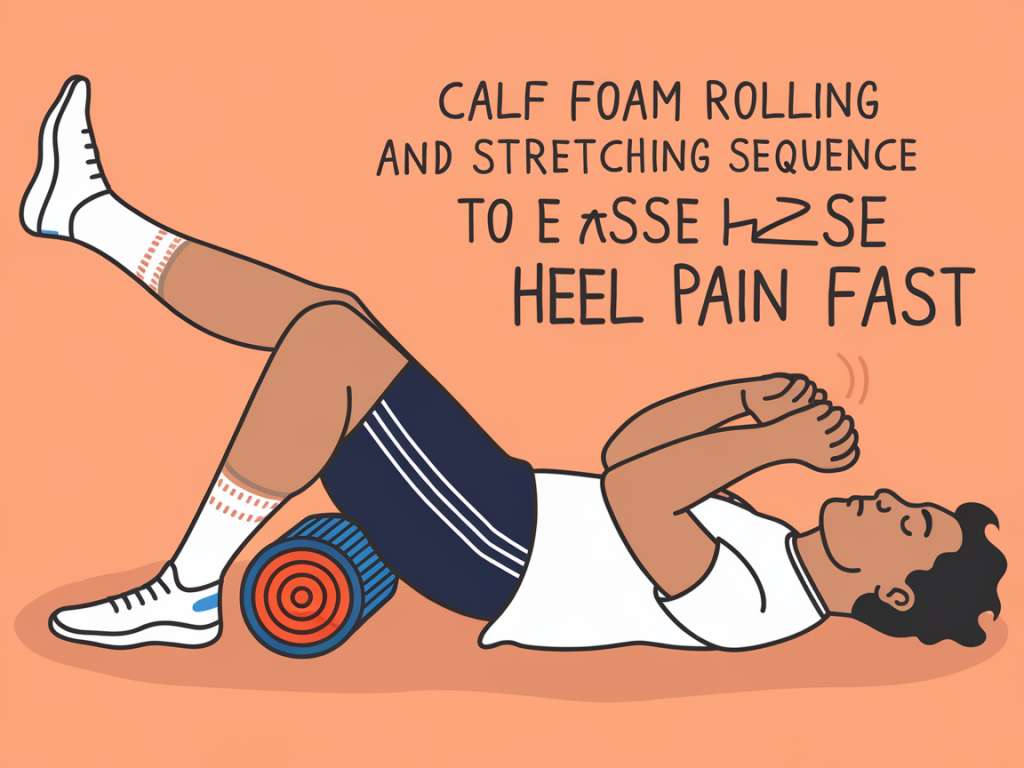
- Seated calf foam roll (1–2 minutes per side): Sit on the floor, place the foam roller under one calf, and support yourself with your hands behind you. Lift your hips slightly and roll from just below the knee to above the Achilles tendon. Pause on tender spots for 10–20 seconds and breathe into the sensation. Keep the other leg bent with foot on the floor to control pressure.
- Crossed-leg deeper roll (1 minute per side): For more pressure, cross the working leg over the opposite thigh and use your hands to lift slightly while rolling. This concentrates the pressure into the calf muscle. Avoid direct rolling on the Achilles tendon bone.
- Pinpoint release with a ball (30–60 seconds per trigger point): Sit or stand and press a lacrosse or massage ball into knots you felt during the roll. Apply gentle sustained pressure until you feel about a 3–5/10 intensity and hold for 20–45 seconds while breathing. Move the ball to other spots as needed.
- Standing calf stretch — gastrocnemius (2 × 30 seconds per side): Stand facing a wall. Step the affected leg back with the knee straight and heel on the ground. Lean forward until you feel a stretch through the upper calf. Keep the back leg straight and toes pointing forward. Hold 30 seconds, relax 10–15 seconds, repeat.
- Standing calf stretch — soleus (2 × 30 seconds per side): From the wall position, slightly bend the back knee and keep the heel down. This targets the deeper soleus muscle. Hold 30 seconds, relax 10–15 seconds, repeat.
- Loaded heel raises (2 sets of 10 slow reps): Stand with both feet shoulder-width apart next to a wall or chair for balance. Rise onto your toes slowly (2–3 seconds up), pause, then lower slowly (3–4 seconds down). Keep movements controlled and avoid bouncing. If full single-leg raises are tolerable, progress to 2 sets of 8 single-leg reps when pain allows.
- Active dorsiflexion stretch with band (2 × 30 seconds): Sit and loop a resistance band around the forefoot, holding the band ends. Pull the toes toward your shin (dorsiflexion) while holding the band gently. This strengthens the front of the ankle and improves range — helpful for distributing load away from the heel. Hold 30 seconds, relax, repeat.
Progressions and modifications
If you have very sensitive heels or acute pain, reduce pressure and duration: try 30 seconds of rolling and fewer stretches, and use a softer roller. For stronger, more athletic individuals looking to build resilience, add eccentric heel drops: stand on the edge of a step, push up with both feet, lift one foot, then slowly lower the working heel below the step for 3–4 seconds. Do 2 sets of 8–10 reps.
Common questions I get
- Will this cure plantar heel pain? Often it helps a lot if calf tightness is a key driver. Many people see meaningful reduction in pain within days to weeks. If pain persists beyond a few weeks or is severe, see a clinician for tailored care.
- Can foam rolling worsen my condition? If done aggressively or over the wrong spot (directly over bone or acute inflammation), it can irritate. Use gentle pressure and avoid rolling directly over the Achilles tendon insertion; focus on the muscle belly.
- How does this compare to orthotics or taping? Foam rolling and stretching address muscle flexibility and movement patterns; orthotics or taping can change load and offer symptomatic relief. They’re complementary — combine approaches when needed.
- How long until I should notice improvement? Many people notice reduced stiffness and less morning pain within a few days of consistent work. Structural recovery can take longer — aim for at least 4–6 weeks of consistent practice for meaningful change.
Quick routine summary table
| Step | Duration | Notes |
|---|---|---|
| Warm-up | 1–2 min | Marching or ankle circles |
| Foam roll (seated) | 1–2 min/side | Pause on tender spots |
| Ball release | 30–60 sec/point | Pinpoint tight spots |
| Gastrocnemius stretch | 2 × 30 sec/side | Knee straight |
| Soleus stretch | 2 × 30 sec/side | Knee bent |
| Loaded heel raises | 2 × 10 reps | Slow and controlled |
| Band dorsiflexion | 2 × 30 sec | Active ankle mobility |
Small, consistent steps are often what makes the biggest difference. Incorporate this sequence into your daily routine and notice how your feet and heels respond — for many readers, reducing calf tension translates into less heel pain and more comfortable movement throughout the day. If you’d like, tell me about your current symptoms and I can suggest small tweaks to tailor the routine to your needs.